Friday, February 18, 2011

Pastel Push

I'm challenging myself to paint 12 pastel paintings by the end of February.  It is my way of pushing myself to delve into my new pastel box!  Sometimes when we get new art supplies we have a tendency to wait and hold off until we find the "perfect" paper, or picture, or time to finally even open up the art supplies.

With my challenge...I have the motivation to not hesitate, but rather to commit my time to 12 "starts".  I said I would commit at least one hour for each of 12 paintings.  If I couldn't finish in that time it was okay to go on to a new start.   If I wanted to spend the time to finish the painting...that was okay too.  
Here the first four I've completed. 

JUST DO IT!


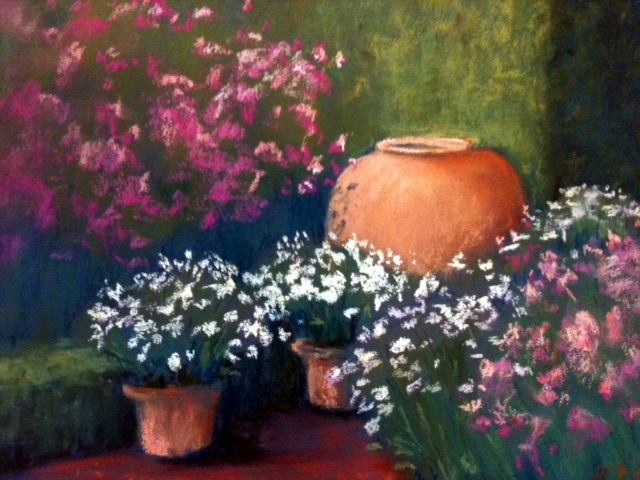
Garden Corner  (9"x12" pastel)

Field of Flowers (9"x12" pastel)

Hap-BEE Valentine (5"x 5" pastel)

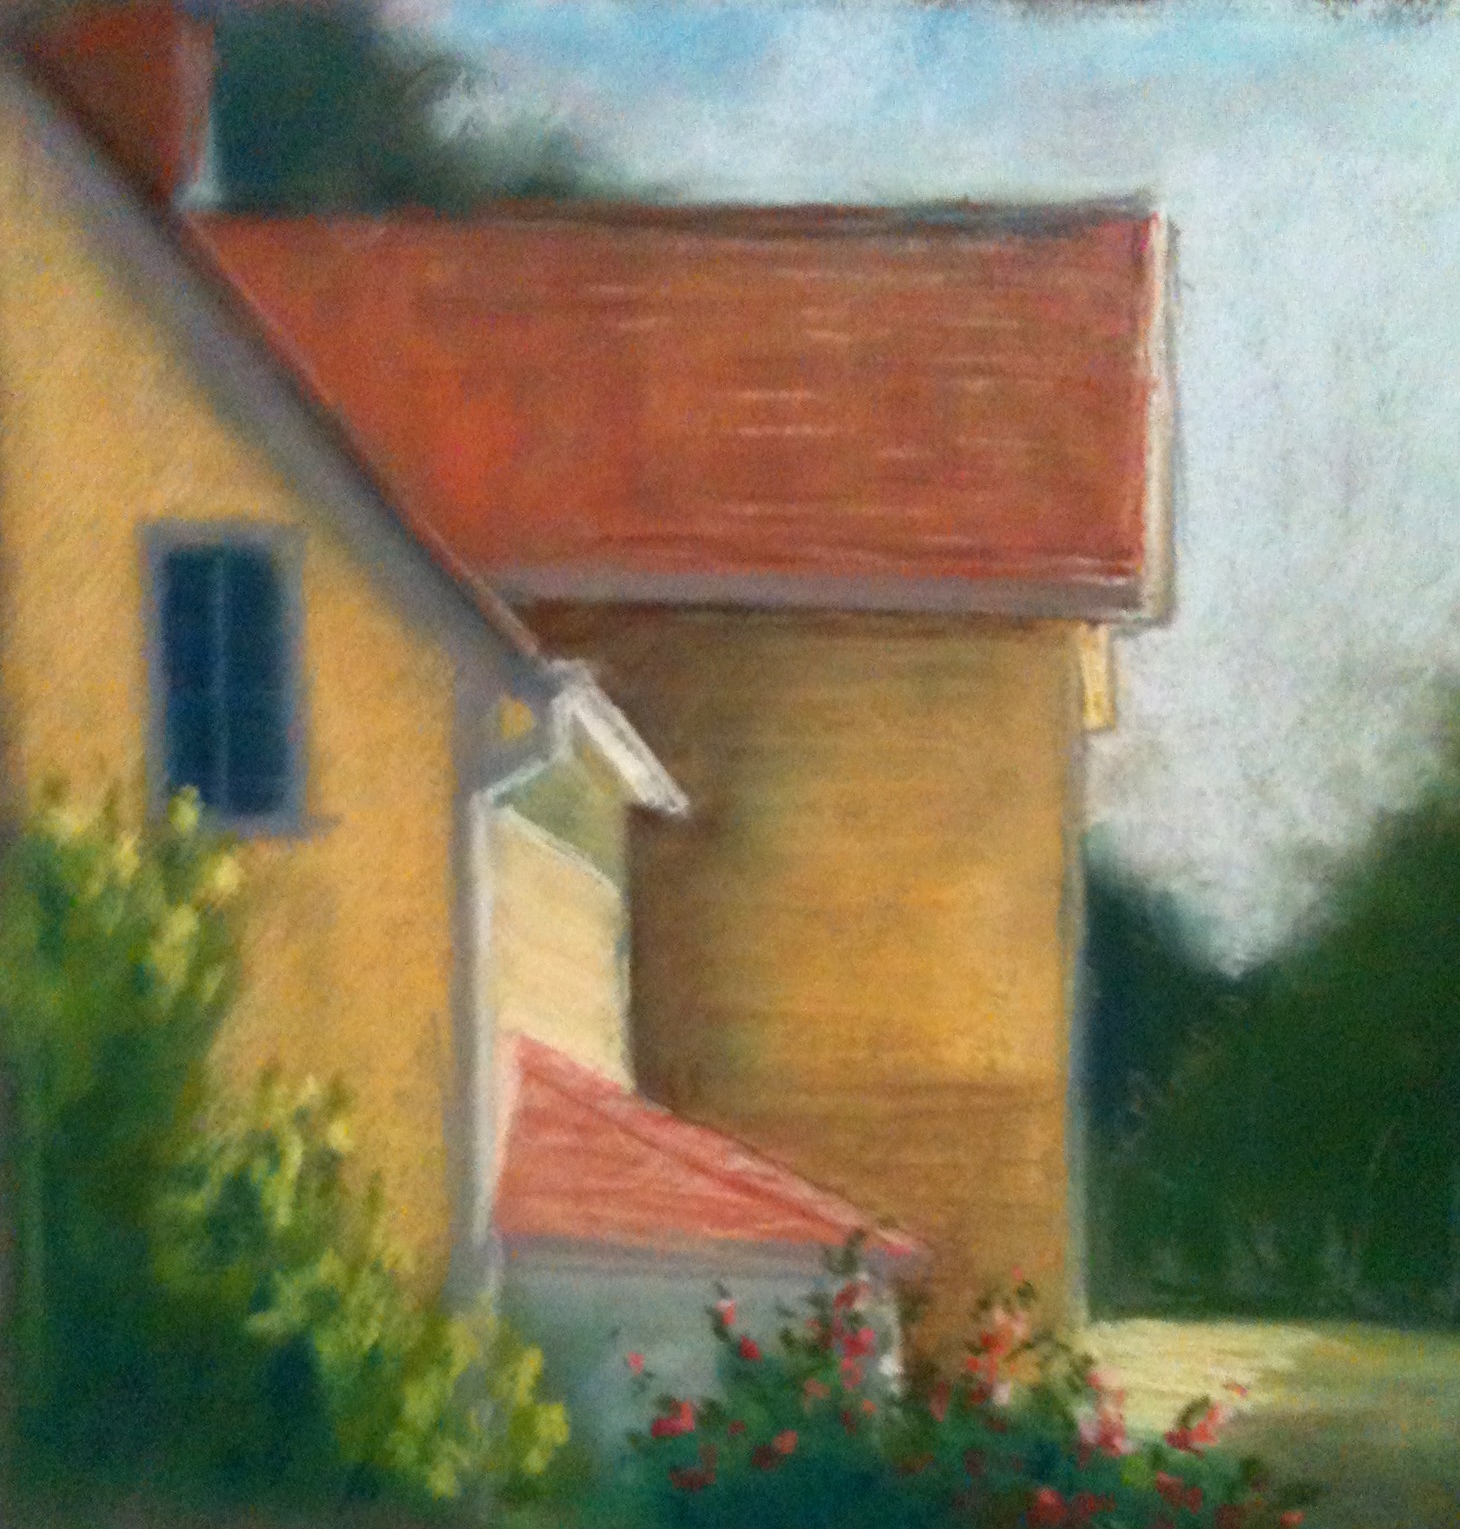
Even on a Cloudy Day  (9" x 12" pastel)

Guess what...it works!  
The little challenge/trick pushes you to make something happen.  
Then low and behold...you aren't waiting any longer for the "perfect" time.  
Instead you just get busy and create.


Tuesday, February 8, 2011

Pastel Passion

 Ready to get my Christmas gift all colorful and messy!  
This is my new pastel plein aire box from
 "All-in-One"


You can see in the picture to the left 
where there are separate foam padded sections
for my pastels to be safely carried around in.


This is a separate section
where you can store new pastel paper
and safely carry home a finished painting.


This is the outside of it with a carrying handle 
and two straps at the bottom 
to carry your umbrella and tripod.  

The tripod will fit into the little hole between the straps.


Pastels I've worked on before deciding to get a
Plein Aire Pastel Box!


Flutterby


Picchetti Farm House

Thursday, February 3, 2011

I put in a fence all by myself!


You need an opening into your art work...
to lead the viewer into your world.


You can see the photo I took on location at the bottom of this picture.  The fence goes all the way across the page. 
I wanted to have an opening into the painting - so I found a reference book with fences in it.  I then cut up some artist tape to test out my new opening 
on the dry painting I had been working on.

Here you can see the tape I was testing to see if I liked the placement.


Next I outlined the tape with a white charcoal pencil.

Then I was able to paint a fence without alot of messing around.
 Putting in a new fence  
all by myself 
was not too hard at all!